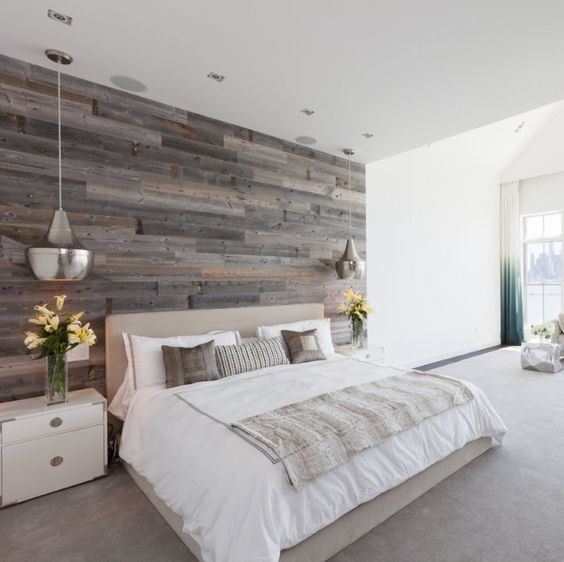
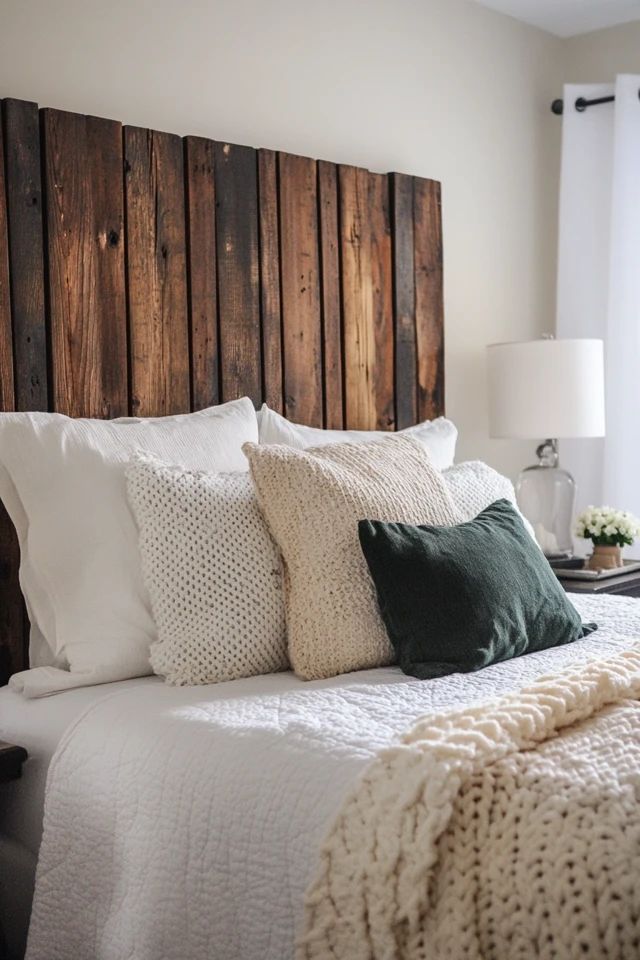
Creating a DIY headboard with reclaimed wood is a fantastic way to add character and warmth to your bedroom. Not only is it an eco-friendly option, but it also brings a rustic, one-of-a-kind feel that elevates your space. Plus, working with reclaimed wood allows you to recycle materials while embracing imperfections that make each piece unique. Follow this step-by-step guide to craft your own stunning reclaimed wood headboard.
Materials You’ll Need:
- Reclaimed wood planks (enough to cover the width and height of your headboard)
- Sandpaper or a power sander
- Measuring tape
- Wood screws
- Drill
- Stud finder
- Level
- Saw (if cutting is necessary)
- Wood stain or sealant (optional)
- Screwdriver
- L-brackets or cleats (for mounting)
- Safety goggles and gloves
Step 1: Gather Reclaimed Wood
Start by sourcing your reclaimed wood. This can come from old barns, pallets, fences, or even recycled wood from old furniture. The beauty of reclaimed wood lies in its history, so look for pieces that show natural wear, grain, and texture. Make sure the planks are structurally sound, free of rot, and straight enough to work with.
Step 2: Measure Your Bed and Wall
Measure the width of your bed to determine how wide your headboard should be. Ideally, your headboard should be the same width as your bed or slightly wider. If you want a taller headboard, measure the height from the floor to where you want it to end. These measurements will help you decide how many wood planks you need.
Step 3: Prepare the Wood
Before assembling the headboard, it’s important to clean and prep the reclaimed wood. Sand down any rough spots using sandpaper or a power sander to ensure a smooth surface while preserving the wood’s natural character. Wipe down the wood to remove dust and debris. You can also treat the wood with a stain or sealant to enhance its color and protect it, although this step is optional depending on your desired finish.

Step 4: Cut the Wood (If Necessary)
If the planks are too long, cut them down to size using a saw. Make sure the lengths are consistent, especially if you’re creating a horizontal plank headboard. You can also cut the planks into different lengths to create a staggered, more rustic design if you prefer.
Step 5: Create the Layout
Lay the wood planks out on the floor in the pattern you want for your headboard. You can choose a horizontal arrangement for a classic look or mix it up with a diagonal or chevron design for a more modern twist. Make sure the pattern fits the width and height you measured earlier.
Step 6: Assemble the Headboard
There are a couple of ways to assemble your reclaimed wood headboard:
- Frame Method: Build a simple frame using 1×2 or 1×4 lumber and attach the reclaimed wood planks to it. This method is ideal if you plan to mount the headboard to the wall or attach it to the bed frame.
- Direct Wall Mount: Alternatively, you can mount the planks directly to the wall using L-brackets or a French cleat system. For this method, start by screwing the bottom plank to the wall, ensuring it’s level. Work your way up, securing each plank as you go.

Step 7: Mount the Headboard
If you’re attaching the headboard to the wall, use a stud finder to locate wall studs for secure mounting. Drill the L-brackets or cleats into the studs and attach the headboard securely. Use a level throughout the process to ensure your headboard is straight.
If you’re attaching the headboard directly to the bed frame, screw the headboard into the bed’s existing brackets using a screwdriver and the provided hardware.
Step 8: Finishing Touches
Final Thoughts
Making a DIY headboard with reclaimed wood is an affordable, sustainable way to add charm to your bedroom. With just a few tools and some creativity, you can build a headboard that is both stylish and functional. Plus, the natural imperfections of reclaimed wood make each piece unique, bringing a touch of history and personality to your home. Happy building!


