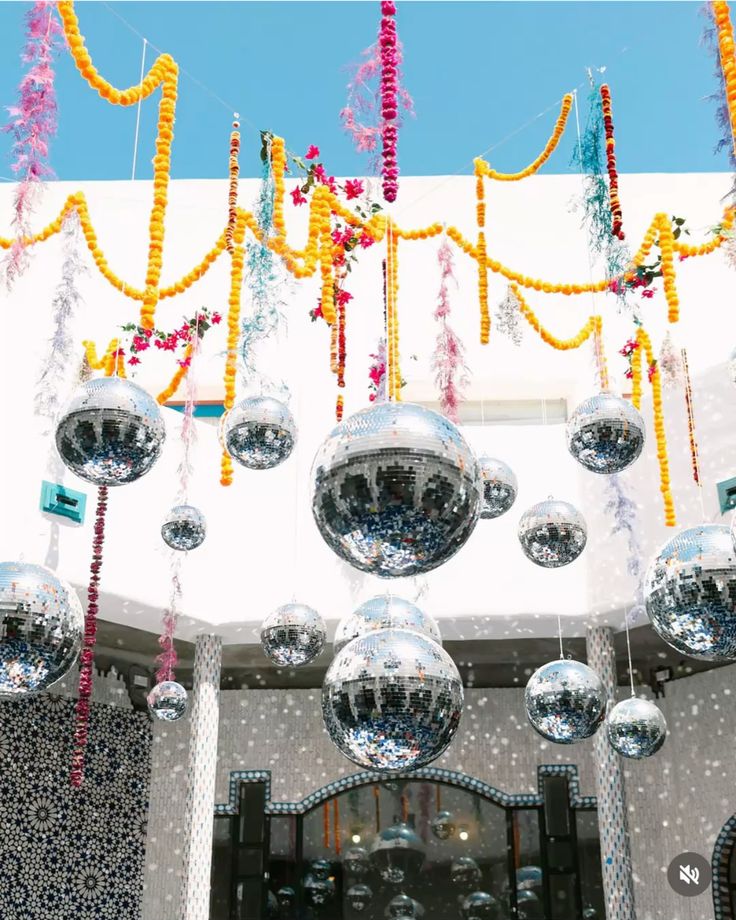
A decorative mirror isn’t just functional; it can be the centerpiece of any room. Creating your own DIY statement mirror allows you to showcase your style while saving money. Here’s how to craft a stunning decorative mirror that reflects your personality.
FAQs about DIY Decorative Mirrors
Q: What materials can I use for a DIY decorative mirror?
You can use a variety of materials, including wood, rope, tiles, shells, pebbles, or even metallic accents. The choice depends on the theme and style you want to create.
Q: Do I need special tools to make a decorative mirror?
Basic tools like a hot glue gun, scissors, a ruler, and adhesive are usually sufficient. For more complex designs, you might need a drill, saw, or tile cutter.
Q: Can I make a decorative mirror with recycled items?
Absolutely! Recycled materials like pallet wood, old CDs, and bottle caps can add a creative and eco-friendly touch to your project.
Q: How do I ensure my DIY mirror is safe to hang?
Use heavy-duty hooks, wall anchors, and sturdy materials. Test the weight of the mirror before hanging to prevent accidents.
Q: How much time does it take to make a DIY decorative mirror?
The time depends on the complexity of your design. Simple projects may take a couple of hours, while intricate designs could take a day or more.

1. Select Your Base Mirror
Start with a plain, affordable mirror that suits the desired size and shape.
- Options include round, rectangular, or square mirrors.
- Check thrift stores or online marketplaces for budget-friendly finds.
2. Choose a Theme or Style
Decide on the aesthetic you want your mirror to convey.
- Rustic charm: Use reclaimed wood or natural elements.
- Modern glam: Add metallic accents and geometric designs.
- Bohemian vibe: Incorporate macramé or colorful beads.
3. Create a Frame with Unique Materials
Build a frame that transforms your mirror into a statement piece.
- Wooden frame: Use pallet wood, driftwood, or painted wooden slats.
- Rope border: Wrap jute rope or nautical cord around the edge.
- Tile mosaic: Arrange colorful glass or ceramic tiles for a vibrant design.
- Sunburst design: Attach sticks, dowels, or metal rods radiating outward.
4. Incorporate Decorative Accents
Add embellishments to elevate the look of your mirror.
- Seashells or pebbles: Perfect for a coastal theme.
- Metallic elements: Spray paint the frame gold, silver, or copper for a luxe touch.
- Floral accents: Use faux flowers or greenery for a soft, romantic effect.
5. Assemble Your Mirror
Carefully attach your frame or decorative elements to the mirror.
- Use strong adhesive or a hot glue gun for a secure hold.
- For larger pieces like wood or metal, consider screws or brackets.

6. Hang Your Statement Mirror
Ensure your mirror is displayed securely and prominently.
- Use heavy-duty hooks or anchors to support the weight.
- Position it to enhance the lighting and space in the room.
7. Showcase Your Creation
Place your mirror in a spot where it will catch attention.
- Living room: Above a mantel or console table.
- Bedroom: As part of a gallery wall or above a dresser.
- Bathroom: Replace a standard vanity mirror with your custom design.
Final Thoughts
Crafting a DIY decorative mirror is an exciting way to personalize your space. With endless design possibilities, you can create a one-of-a-kind piece that not only reflects light but also your unique style. Dive into this project and let your creativity shine!


