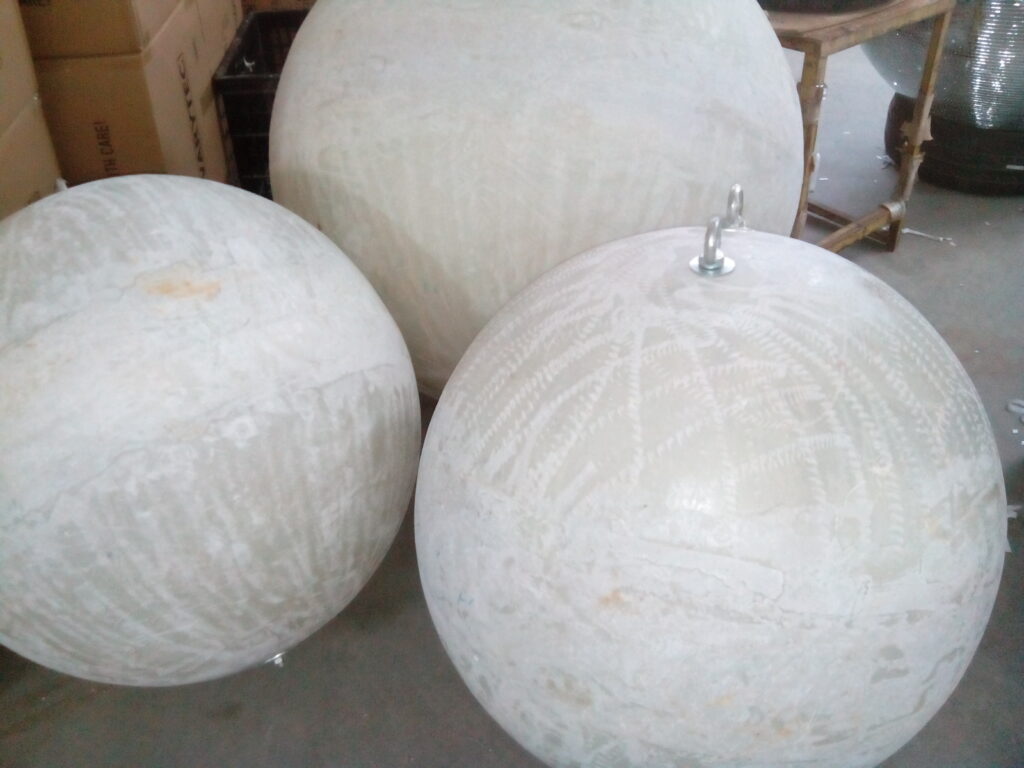
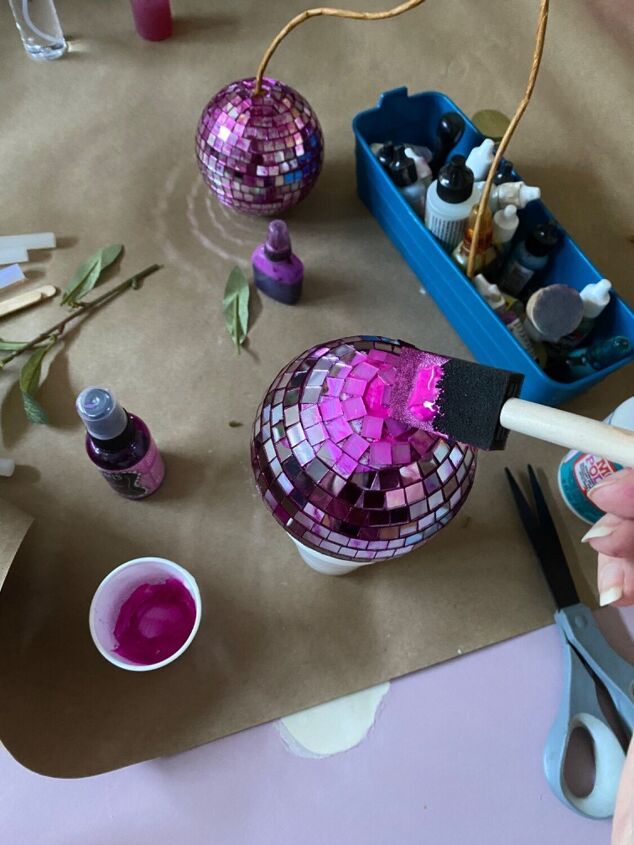
Creating a 36-inch disco ball chandelier is a fantastic way to make a statement and add a touch of glamour to any space. Whether you’re planning a grand event or simply want a striking decor piece for your home, this guide will walk you through the process of making your own dazzling disco ball chandelier.
Materials Needed
- 36-Inch Disco Ball: The centerpiece of your chandelier.
- Chandelier Frame: A sturdy frame to support the disco ball and any additional decorations.
- Hanging Hardware: Chain, hooks, or other hanging mechanisms.
- Lighting: Spotlights or LED lights to enhance the disco ball’s effect.
- Decorative Elements: Optional items like crystals, feathers, or garlands.
- Tools: Drill, screwdriver, pliers, and wire cutters.
- Safety Gear: Gloves and safety glasses.

Step 1: Plan Your Design
- Design Concept: Decide on the overall look of your chandelier. Will it be a single tier, multi-tier, or have additional decorative elements?
- Measurement: Ensure you have adequate space for a 36-inch disco ball and that the ceiling can support the weight of the chandelier.
Step 2: Prepare the Disco Ball
- Check the Disco Ball: Ensure the 36-inch disco ball is in good condition and has a sturdy mounting bracket.
- Clean the Ball: Wipe the disco ball with a soft cloth to remove any dust or debris.
Step 3: Assemble the Chandelier Frame
- Choose a Frame: Select a chandelier frame that can support the disco ball. You can use a pre-made frame or create one from wire or metal.
- Prepare the Frame: If using a DIY frame, cut and assemble the materials to create a sturdy structure that can hold the disco ball.
Step 4: Attach the Disco Ball
- Mounting Hardware: Secure the mounting bracket of the disco ball to the chandelier frame using screws or bolts.
- Hang the Disco Ball: Attach the disco ball to the frame using chains or hooks. Make sure it is centered and balanced.
Step 5: Install Lighting
- Position Lighting: Install spotlights or LED lights around the disco ball to enhance its reflective qualities. Position them to create the desired light patterns.
- Wiring: Connect the lights to a power source, ensuring all wiring is safely secured and concealed.
Step 6: Add Decorative Elements (Optional)
- Crystals or Feathers: Attach additional decorative elements to the chandelier frame to add extra flair. Use wire or hooks to secure these items.
- Garlands or Ribbons: Wrap garlands or ribbons around the frame for added decoration.
Step 7: Final Assembly
- Secure Everything: Double-check that all components are securely attached and that the chandelier is safely mounted.
- Test the Lights: Turn on the lights and adjust them as needed to ensure they create the desired effect.
Step 8: Hang the Chandelier
- Ceiling Mount: Install a ceiling hook or mount that can support the weight of the chandelier. Ensure it is securely anchored into a ceiling joist.
- Hang the Chandelier: Carefully lift the chandelier into place and secure it to the ceiling mount. Make sure it is level and stable.
Step 9: Enjoy Your Chandelier
- Final Adjustments: Make any final adjustments to the lights and decorations to perfect the look.
- Admire Your Work: Step back and enjoy the dazzling effect of your 36-inch disco ball chandelier.

Tips for Success
- Safety First: Ensure all electrical work is done safely and, if necessary, consult a professional electrician.
- Balance: Make sure the chandelier is balanced to prevent any swaying or tilting.
- Maintenance: Regularly clean the disco ball and check the chandelier for any loose parts or electrical issues.
Conclusion
Creating a 36-inch disco ball chandelier is a fun and rewarding project that can add a touch of elegance and excitement to any space. By following these steps, you can craft a stunning and eye-catching chandelier that will impress guests and brighten up your decor. Enjoy your glamorous creation and the sparkling ambiance it brings to your home!


